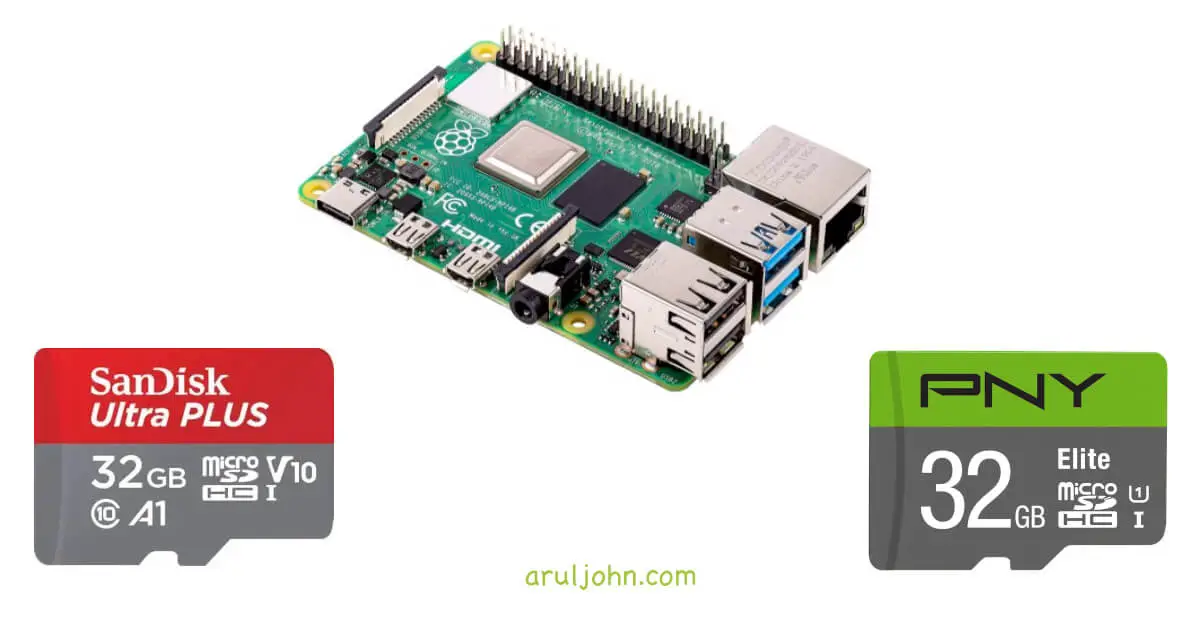
This blog post will show you how to install Raspberry Pi OS on any microSD card for any version of the Raspberry Pi, using the command line on Mac OS.

Table of Contents
- Download the 2024-11-19-raspios-bookworm-armhf-lite.img.xz file
- Extract the xz file using the Finder app
- Get a microSD card with at least 32 GB
- Insert the microSD card in the card reader
- List all partitions
- Unmount partition for microSD card
- Write the Raspberry Pi OS image to the microSD card
- Eject the microSD card
- Start up the Raspberry Pi OS on your newly installed Raspberry Pi
- Wait! Why not just use the Raspberry Pi Imager tool?
- Conclusion
Download the 2024-11-19-raspios-bookworm-armhf-lite.img.xz file
We will download the Raspberry Pi OS Lite version (with no desktop).
Start the Terminal app and run these commands:
curl -O https://downloads.raspberrypi.com/raspios_lite_armhf/images/raspios_lite_armhf-2024-11-19/2024-11-19-raspios-bookworm-armhf-lite.img.xz
Output:
$ curl -O https://downloads.raspberrypi.com/raspios_lite_armhf/images/raspios_lite_armhf-2024-11-19/2024-11-19-raspios-bookworm-armhf-lite.img.xz
  % Total    % Received % Xferd  Average Speed   Time    Time     Time  Current
                                 Dload  Upload   Total   Spent    Left  Speed
100  507M  100  507M    0     0  6262k      0  0:01:23  0:01:23 --:--:-- 6630k
Extract the xz file using the Finder app
Double-click on the 2024-11-19-raspios-bookworm-armhf-lite.img.xz file. It will extract the 2024-11-19-raspios-bookworm-armhf-lite.img file.
Get a microSD card with at least 32 GB
I personally prefer one of these microSD cards.
- PNY 32GB Elite Class 10 U1 microSDHC
- SanDisk Ultra PLUS 32GB microSD Memory Card
If you want to get cards with higher capacities, that would be great too.
Insert the microSD card in the card reader
Insert the microSD card into the card reader. On the Mac, the microSD card should be recognized by showing up in Finder.
List all partitions
Run this on Terminal:
$ diskutil umountDisk /dev/disk2
Output:
$ diskutil umountDisk /dev/disk2
Unmount of all volumes on disk2 was successful
asjohn Downloads $ diskutil list
/dev/disk0 (internal, physical):
   #:                       TYPE NAME                    SIZE       IDENTIFIER
   0:      GUID_partition_scheme                        *500.3 GB   disk0
   1:                        EFI EFI                     314.6 MB   disk0s1
   2:                 Apple_APFS Container disk1         500.0 GB   disk0s2

/dev/disk1 (synthesized):
   #:                       TYPE NAME                    SIZE       IDENTIFIER
   0:      APFS Container Scheme -                      +500.0 GB   disk1
                                 Physical Store disk0s2
   1:                APFS Volume Macintosh HD            10.3 GB    disk1s1
   2:              APFS Snapshot com.apple.os.update-... 10.3 GB    disk1s1s1
   3:                APFS Volume Macintosh HD - Data     406.6 GB   disk1s2
   4:                APFS Volume Preboot                 2.4 GB     disk1s3
   5:                APFS Volume Recovery                1.2 GB     disk1s4
   6:                APFS Volume VM                      2.1 GB     disk1s5

/dev/disk2 (external, physical):
   #:                       TYPE NAME                    SIZE       IDENTIFIER
   0:     FDisk_partition_scheme                        *31.9 GB    disk2
   1:             Windows_FAT_32 bootfs                  536.9 MB   disk2s1
   2:                      Linux                         5.5 GB     disk2s2
                    (free space)                         25.8 GB    -
This may be different for you, you may have /dev/disk3 or something else. Please do this part very carefully. If you accidentally type the wrong partition, you may lose access to your resident operating system (macOS).
Unmount partition for microSD card
We can see that /dev/disk2 is the partition for the 32 GB microSD card. We will unmount this partition.
$ diskutil umountDisk /dev/disk2
Output:
$ diskutil umountDisk /dev/disk2
Unmount of all volumes on disk2 was successful
Write the Raspberry Pi OS image to the microSD card
We will use the dd command to write it. In the options, we will use status=progress to allow it to display the progress status.
$ sudo dd bs=1m if=2024-11-19-raspios-bookworm-armhf-lite.img of=/dev/rdisk2 status=progress
Output:
$ sudo dd bs=1m if=2024-11-19-raspios-bookworm-armhf-lite.img of=/dev/rdisk2 status=progress
  6074400768 bytes (6074 MB, 5793 MiB) transferred 291.028s, 21 MB/s
5800+0 records in
5800+0 records out
6081740800 bytes transferred in 291.580064 secs (20857876 bytes/sec)
Eject the microSD card
At this point, Raspberry Pi OS bookworm has been installed on our microSD card. We will eject the card from the card reader.
$ diskutil eject /dev/rdisk2
Output:
$ diskutil eject /dev/rdisk2
Disk /dev/rdisk2 ejected
Start up the Raspberry Pi OS on your newly installed Raspberry Pi
Now, insert the card in the Raspberry Pi, connect the peripherals, including the keyboard, HDMI cable to the monitor and the mouse. Turn on the Raspberry Pi.
You will be prompted to enter a bunch of things.
At some point, update and upgrade the software and libraries.
sudo apt update
sudo apt upgrade
You can configure the Raspberry Pi settings by running raspi-config.
sudo raspi-config
In the Raspberry Pi configuration page, change the hostname and modify other settings according to what you want.
Wait! Why not just use the Raspberry Pi Imager tool?
At times, the Raspberry Pi Imager tool was unable to successfully write to the microSD card. I really don't know why. Even when I formatted the microSD card and tried using the rpi imager tool, Raspbian / Raspberry Pi OS did not always get installed.
Writing the Raspberry Pi OS using the dd command worked 100% of the time. That's why I prefer command line installation whenever possible.
Please note that you have to be very careful with the steps, and find the correct partition. Writing to the wrong partition path can destroy the OS on your resident hard disk's partition or other devices connected to your computer.
Conclusion
This blog post was to help you write the Raspberry Pi OS / Raspbian img file to your microSD or SD card. That is all. There are other blog posts to help you with other things. Please click on the tags at the bottom of this post, or check the raspberry pi category. Thanks for reading!
Related Posts
If you have any questions, please contact me at arulbOsutkNiqlzziyties@gNqmaizl.bkcom. You can also post questions in our Facebook group. Thank you.