This blog post will show you how to install Raspberry Pi OS on a Raspberry Pi Zero W or Zero 2 using the Raspberry Pi Imager rpi-imager software.
⌨ If you want to install Raspberry Pi OS using the Terminal, this is for you.
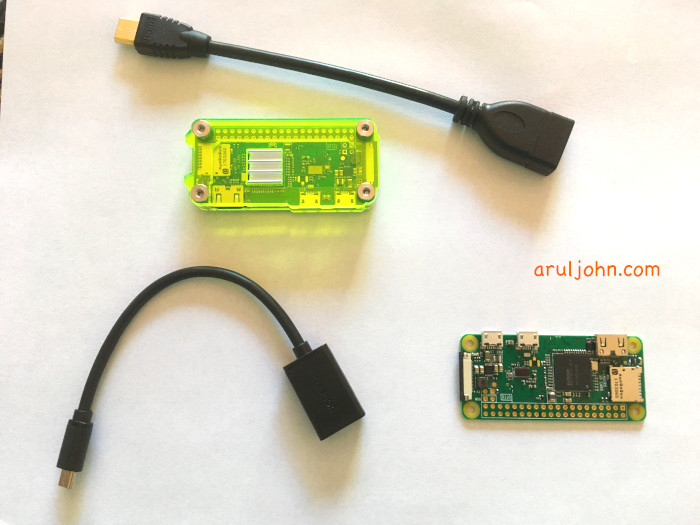 Raspberry Pi Zero W, C4Labs case, miniHDMI-to-HDMI, microUSB OTG
A Raspberry Pi Zero W has a built-in wifi and Bluetooth. There is no built-in storage, so you will have to use your own microSD card. Look for Class 10 cards with at least 8GB capacity, preferably a 16GB or 32GB microSD card.
Hardware you will need
1) Raspberry Pi Zero W or Pi Zero W 2
 Raspberry Pi Zero W
2) PNY card with at least 8GB. I have used these 32GB PNY cards in my Raspberry Pis and Wyze cameras. They are fast and very stable.
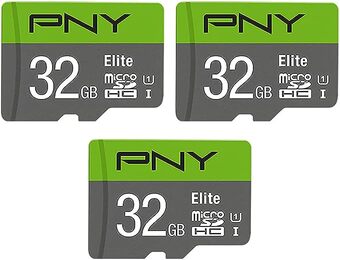 _ 3-pack PNY class-10 32GB PNY microSD cards_
Optional Hardware
3) Pi Zero Case. I love this C4Labs brand lime green case. It comes with a heat sink that you must install prior to the installation.
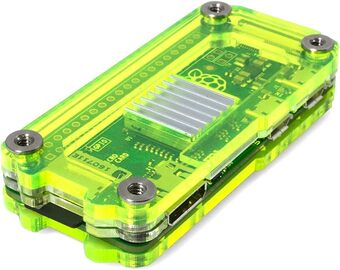 C4Labs case for Raspberry Pi Zero
4) OTG cable, in case you need to connect a USB keyboard or any other USB device. I have used UGREEN brand microUSB to USB OTG cable.
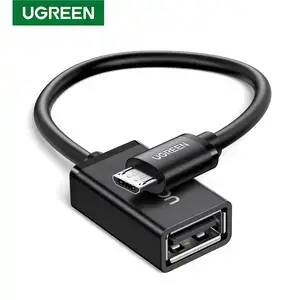 UGREEN microUSB to USB OTG cable
5) miniHDMI male to HDMI female
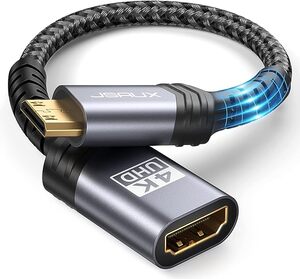 Mini HDMI to HDMI cable
Download Raspberry Pi Imager
You can download the Raspberry Pi Imager here.
Download for Mac: https://downloads.raspberrypi.org/imager/imager_latest.dmg
Download for Windows: https://downloads.raspberrypi.org/imager/imager_latest.exe
Download for Ubuntu: https://downloads.raspberrypi.org/imager/imager_latest_amd64.deb
To install it from the command line in Ubuntu:
sudo apt install rpi-imager
The Raspberry Pi Imager software would have been installed.
Run Raspberry Pi Imager
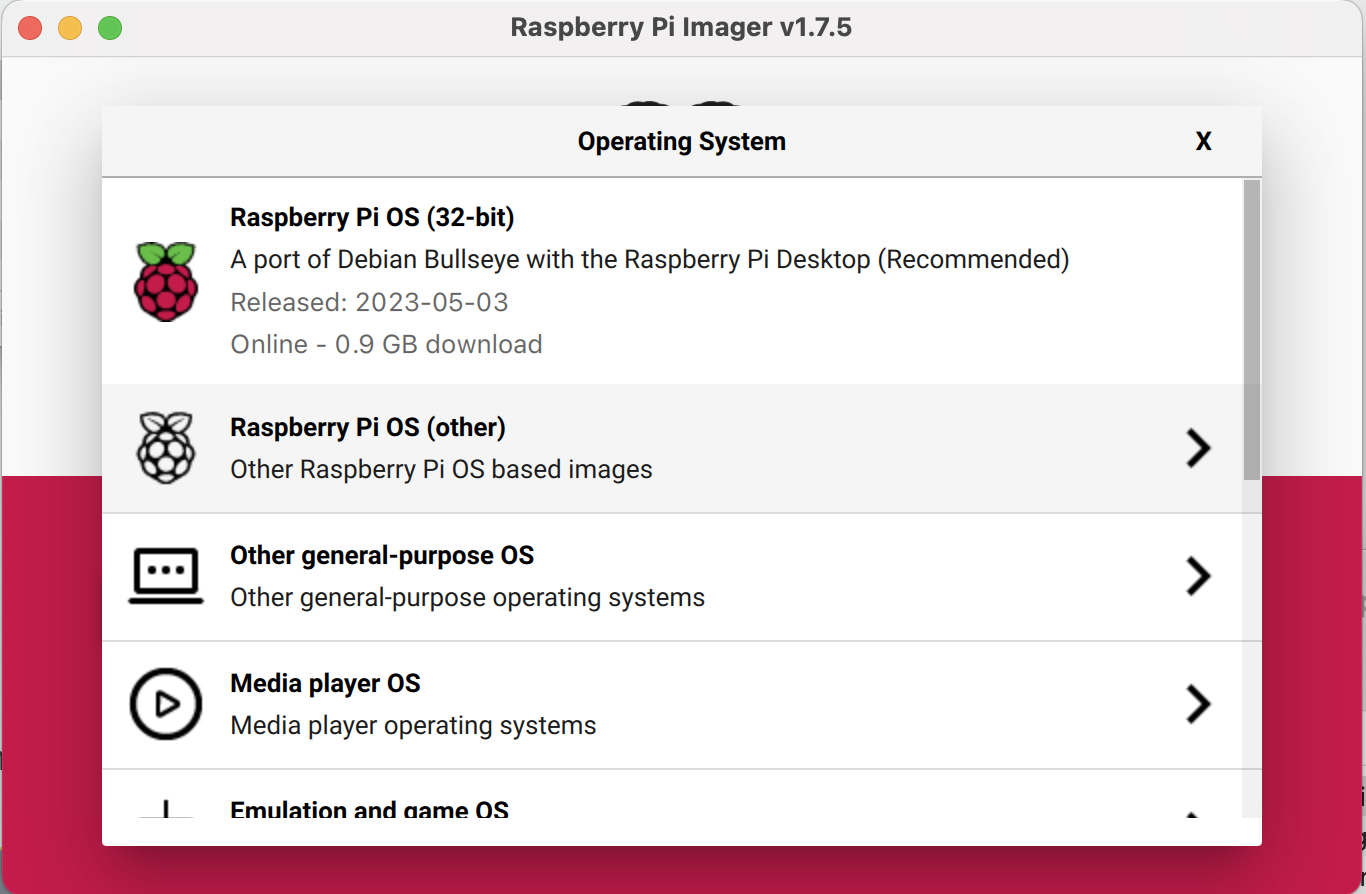
Run the Raspberry Pi Imager software. In the menu, select Raspberry Pi OS (other) since we will install a non-GUI desktop OS.
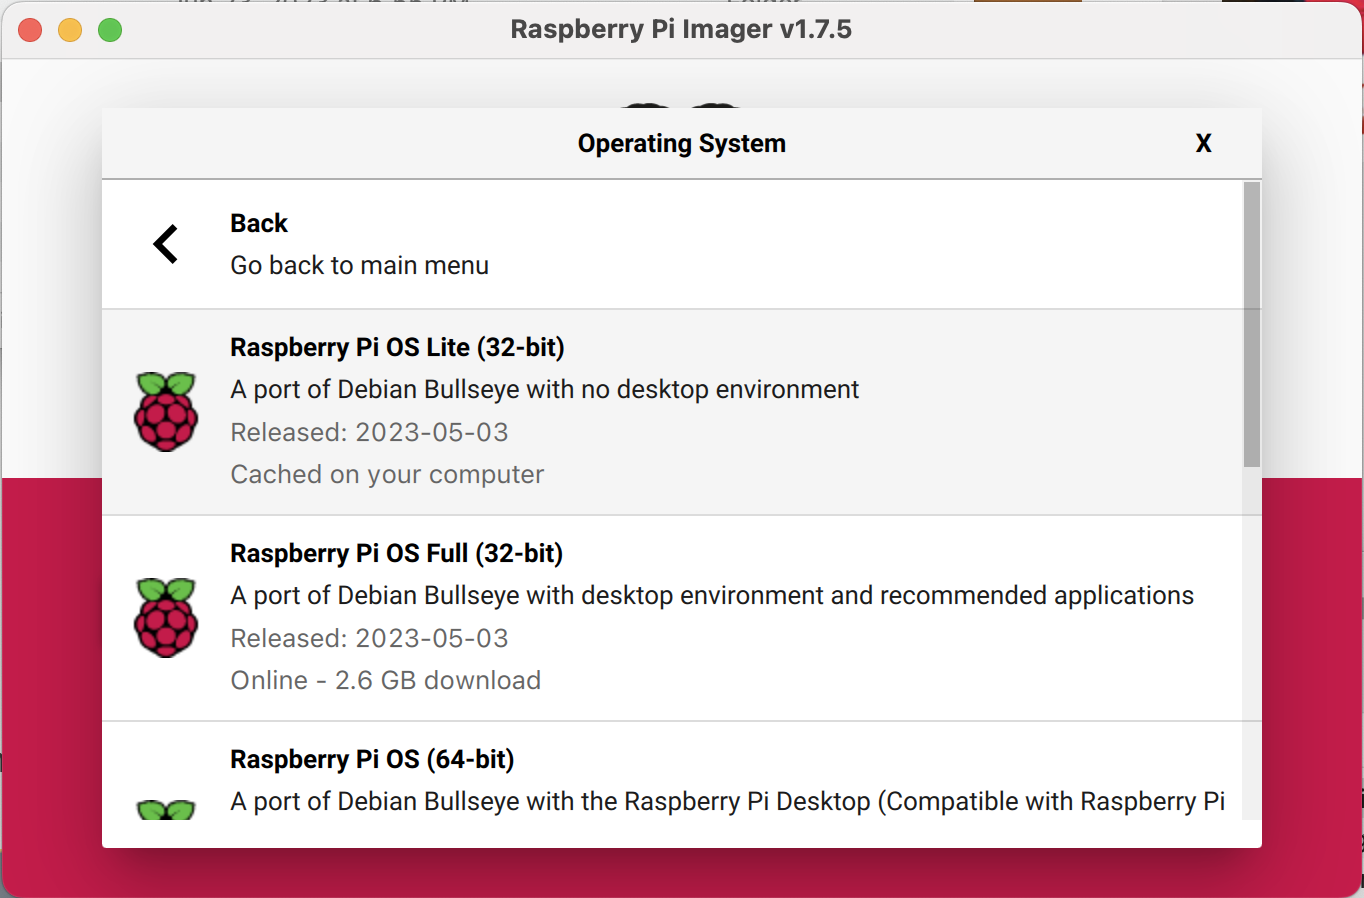
Then, select Raspberry Pi OS Lite (32-bit).
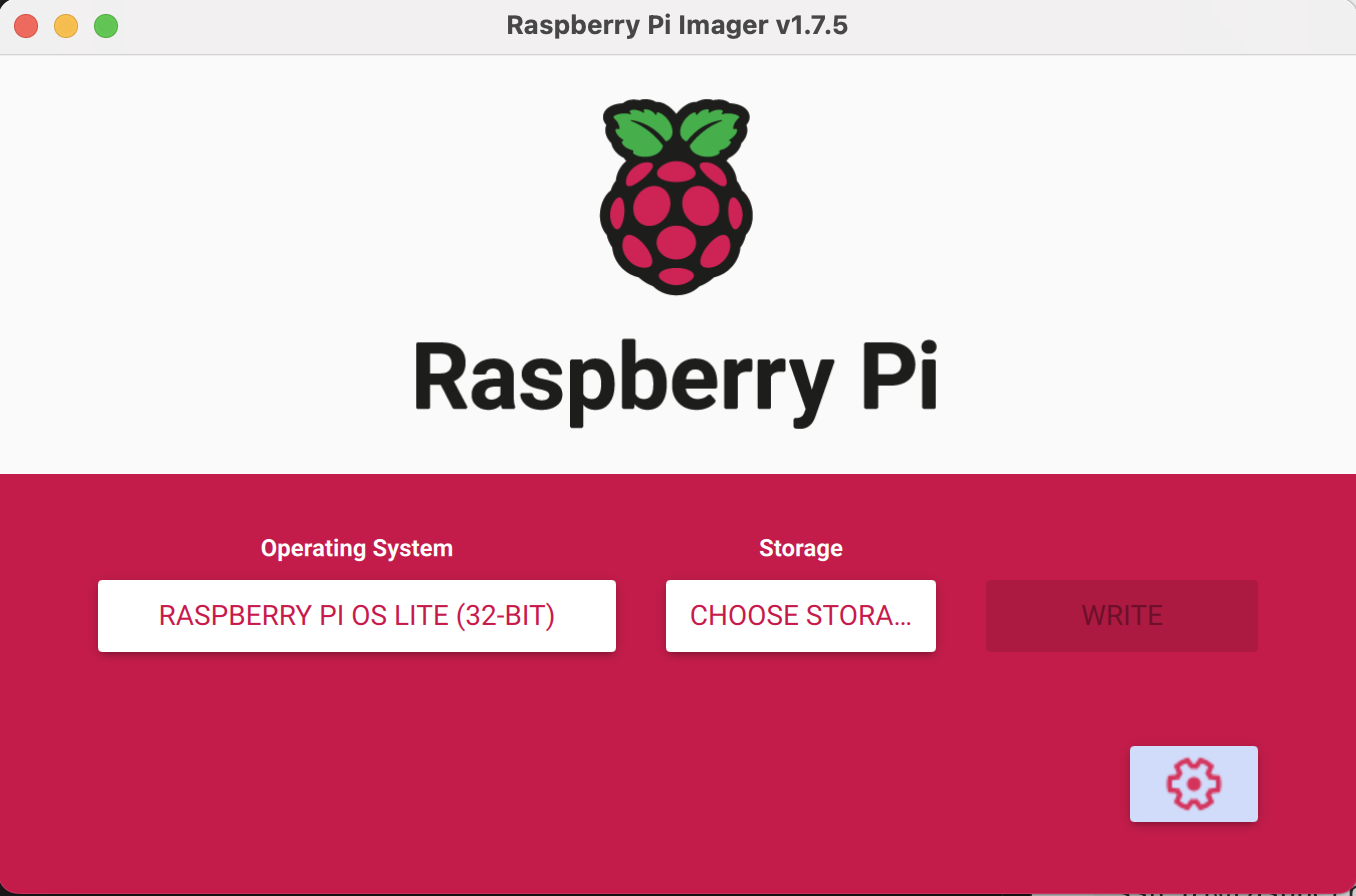
Then, click the Back button. You are back in the home screen.
Now, click on the gear icon on the bottom-right.
Enter all your desired settings, including keyboard country, Wi-Fi name and key, and others so that the
Finally, go to the Storage section and select your microSD card. Allow it to write to it. It may take about 10-20 minutes.
Starting up the Raspberry Pi OS on your newly installed Raspberry Pi
Now, put the card in the Raspberry Pi and turn on the Raspberry Pi. It will hopefully connect to the wireless network. You can connect to it using this command.
ssh pi@raspberrypi.local
There is no default password. The password is the one you set up after clicking the gears icon in the Imager software.
Now, update and upgrade the software and libraries.
sudo apt update
sudo apt upgrade
You can configure the Raspberry Pi settings by running raspi-config.
sudo raspi-config
In the Raspberry Pi configuration page, change the hostname and modify other settings according to what you want.
Finishing Up
There are a ton of things you can do with your Raspberry Pi. Stay tuned for more articles at ArulJohn.com. If you have any questions, feel free to contact me.
Related Posts
If you have any questions, please contact me at arulbOsutkNiqlzziyties@gNqmaizl.bkcom. You can also post questions in our Facebook group. Thank you.