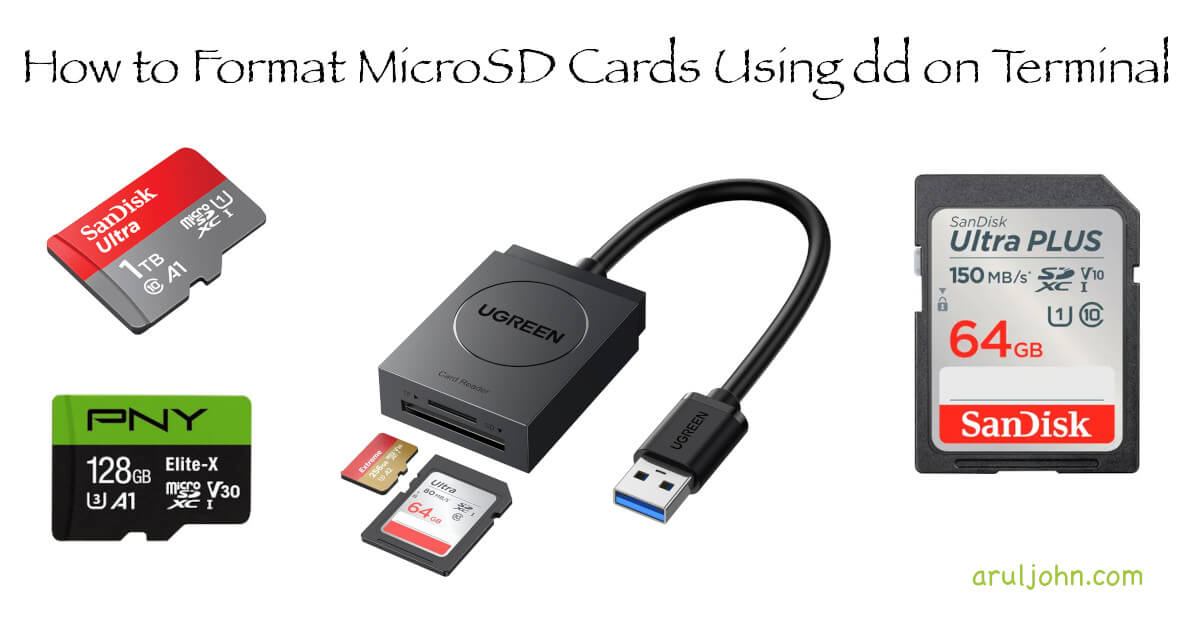
This is a tutorial on how to format an SD card or a MicroSD card using the dd command in the Terminal. You may find this useful, especially if regular software such as Disk Utilities is not working as expected.
 How to format an SD or a microSD card using dd on the Terminal
Every now and then, I need to format a new microSD card. I prefer using the dd command as opposed to GUI software.
If you use microSD cards in your Raspberry Pi or SD cards in your older Raspberry Pi, you may find this useful.
You can format a microSD card using GUI tools like Disk Utility. Unfortunately, this does not work properly all the time. Sometimes, Disk Utility may not detect all partitions. In such scenarios, it's best to use the built-in command line tool called dd. This is available on Linux and macOS computers.
If you use security cameras such as Wyze cameras, a microSD card that records 24x7 is helpful if if you want to store 24-hour recording locally.
Formatting microSD or SD cards in Linux
Find where the microSD card is mounted in the system.
fdisk -l
Assume the flash drive is mounted on /dev/sdb. Now, unmount the device.
umount /dev/sdb
Format the flash drive.
sudo dd if=/dev/zero of=/dev/sdb bs=1m
This may take several minutes. The formatting of the microSD card would have been completed.
Formatting microSD or SD cards in macOS
Find the device using diskutil list.
diskutil list
Your output will be similar to this.
asjohn ~ $ diskutil list
/dev/disk0 (internal, physical):
   #:                       TYPE NAME                    SIZE       IDENTIFIER
   0:      GUID_partition_scheme                        *500.3 GB   disk0
   1:                        EFI EFI                     314.6 MB   disk0s1
   2:                 Apple_APFS Container disk1         500.0 GB   disk0s2

/dev/disk1 (synthesized):
   #:                       TYPE NAME                    SIZE       IDENTIFIER
   0:      APFS Container Scheme -                      +500.0 GB   disk1
                                 Physical Store disk0s2
   1:                APFS Volume Macintosh HD            10.3 GB    disk1s1
   2:              APFS Snapshot com.apple.os.update-... 10.3 GB    disk1s1s1
   3:                APFS Volume Macintosh HD - Data     421.9 GB   disk1s2
   4:                APFS Volume Preboot                 2.4 GB     disk1s3
   5:                APFS Volume Recovery                1.2 GB     disk1s4
   6:                APFS Volume VM                      2.1 GB     disk1s5

/dev/disk2 (external, physical):
   #:                       TYPE NAME                    SIZE       IDENTIFIER
   0:     FDisk_partition_scheme                        *31.0 GB    disk2
   1:             Windows_FAT_32                         31.0 GB    disk2s1
From the output, we can see that the microSD card is mounted on /dev/disk2
Run the format command now. In this case, we will name the microSD card as Wyze because I am going to use it in one of my Wyze cameras.
sudo diskutil eraseDisk FAT32 Wyze MBRFormat /dev/disk2
Output:
$ sudo diskutil eraseDisk FAT32 Wyze MBRFormat /dev/disk2
Started erase on disk2
Unmounting disk
Creating the partition map
Waiting for partitions to activate
Formatting disk2s1 as MS-DOS (FAT32) with name Wyze
512 bytes per physical sector
/dev/rdisk2s1: 60494944 sectors in 1890467 FAT32 clusters (16384 bytes/cluster)
bps=512 spc=32 res=32 nft=2 mid=0xf8 spt=32 hds=255 hid=2048 drv=0x80 bsec=60524544 bspf=14770 rdcl=2 infs=1 bkbs=6
Mounting disk
Finished erase on disk2
After several minutes, the formatting will be completed.
Formatting microSD card and filling with urandom instead of zero
If you want to just empty the microSD card and fill up the file system with random numbers instead of 0s, run this:
sudo dd if=/dev/urandom of=/dev/rdisk2 bs=1m
Conclusion
Hopefully, this
Related Posts
If you have any questions, please contact me at arulbOsutkNiqlzziyties@gNqmaizl.bkcom. You can also post questions in our Facebook group. Thank you.